Picnic Blanket Quilt Tutorial
Thursday, September 22, 2011
I'm pretty new to sewing and quilting... but I have completely fallen in LOVE with it! Connecting all the pieces of fabric together to form a larger product is just exhilarating to me!!
Other than my love for beautiful quilts... I have ALWAYS wanted to have a cute picnic blanket that I can take to the park, Stone Mountain's Laser show, and many more places!
So I was browsing through my favorite website... Pinterest... I ran across this ADORABLE quilt tutorial called "New Wave Quilt". I immediately fell in LOVE with this quilt! So, I decided to make the quilt using the FABULOUS *free* tutorial given on the site, and add my own twist to it!
The only additional material needed is about 5 yards of clear, plastic vinyl. I found mine in the Home Decor section of Joann Fabrics. I chose this as my favorite because it is the largest width available. It was on sale for $1.99/yd!
After picking out my fabrics and completing my quilt sandwich through the "New Wave Quilt Tutorial", that is when I put my own spin on things.
Here's what I did:
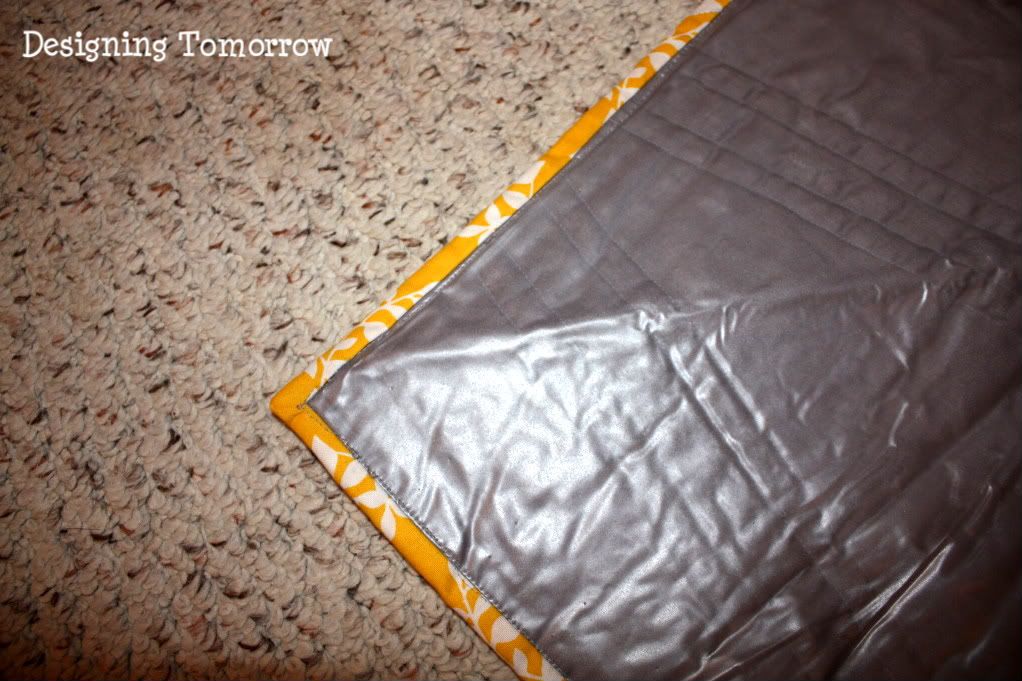
- Cut a piece of vinyl about an inch larger than the quilt on all sides.
- PIN THE VINYL DOWN onto the back side of the quilt sandwich AS MUCH AS POSSIBLE! This will keep it from moving during the next step.
- Sew the vinyl to the quilt sandwich about 1/4 inch away from the edge of the quilt. Be sure that the vinyl stays tight!
After you do this, you can trim the remaining vinyl from the edge of the quilt.
Resume the tutorial as directed. The only thing left after attaching the vinyl is doing the binding. This is my FAVORITE part of quilting! (weird... I know.)
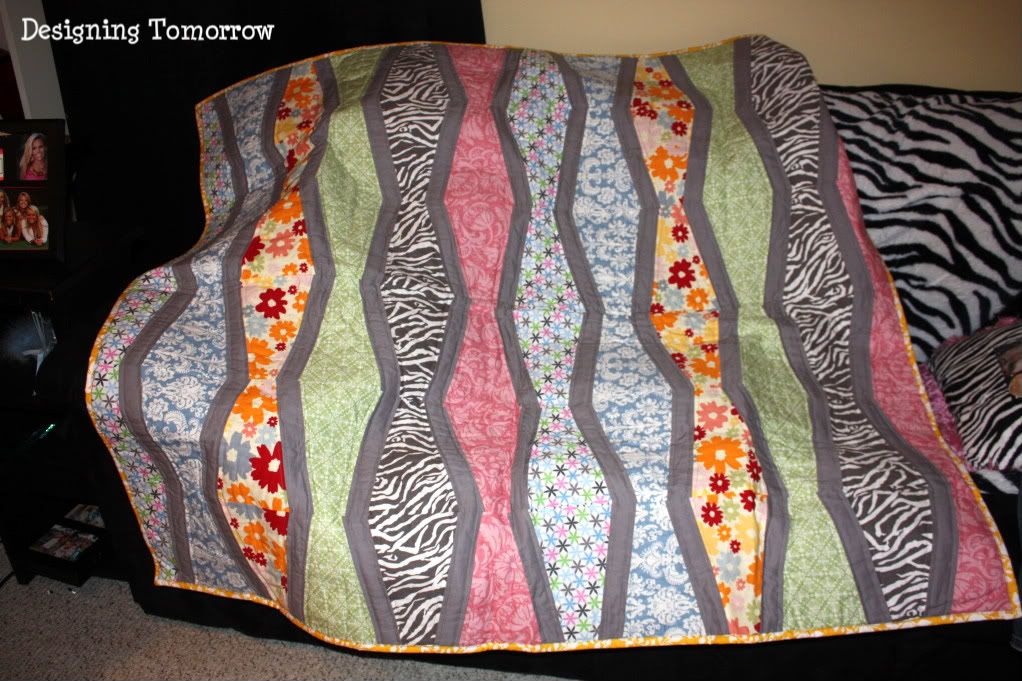
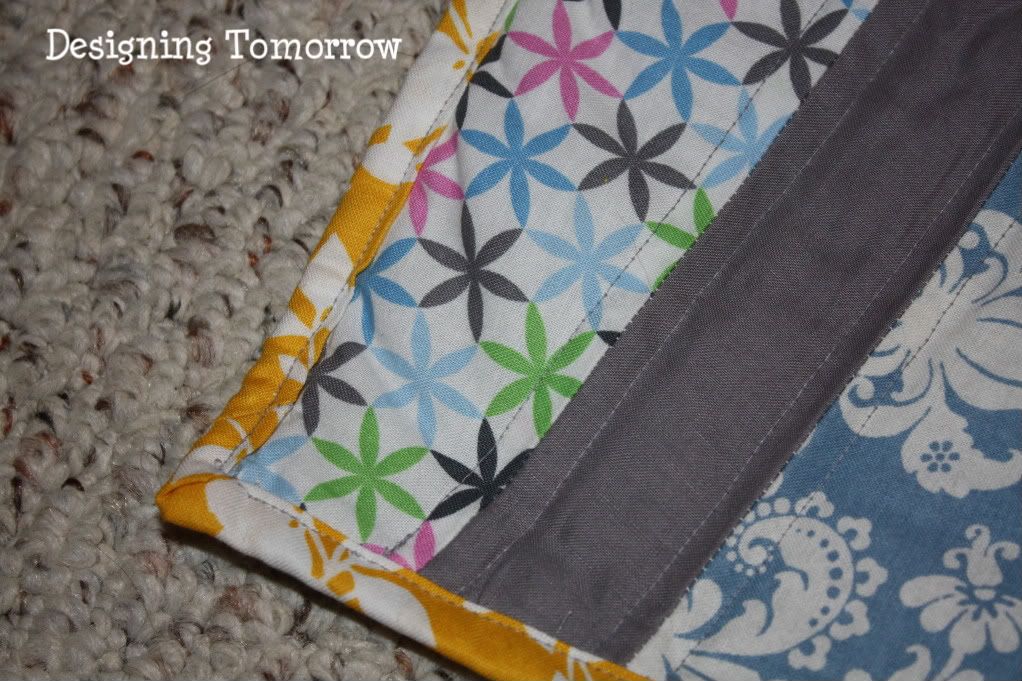
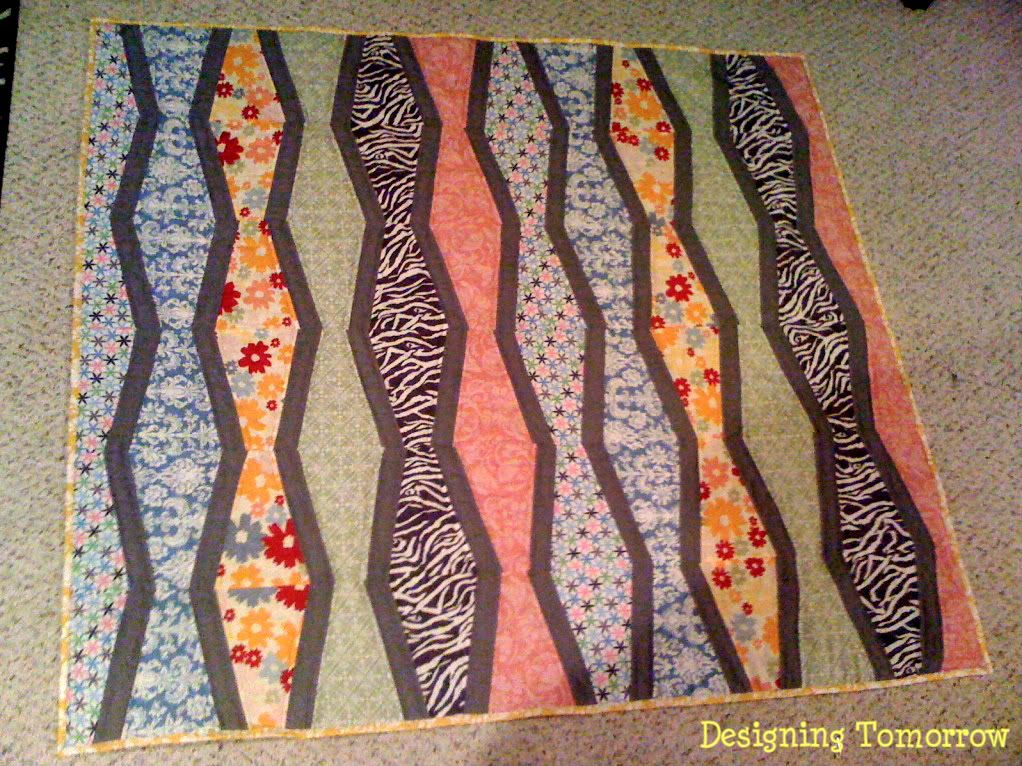
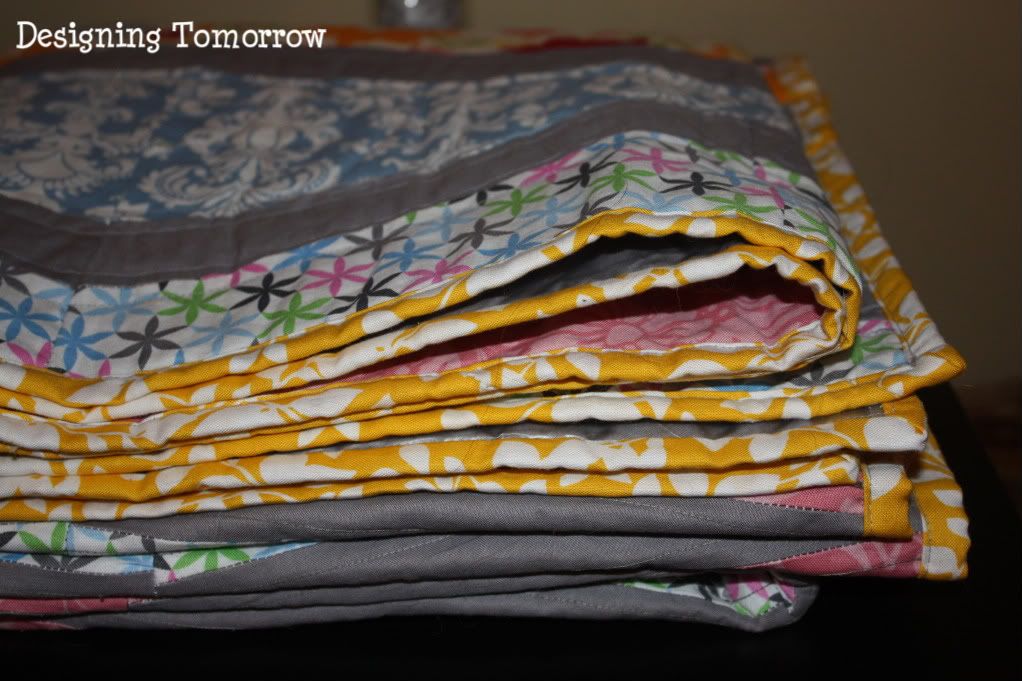
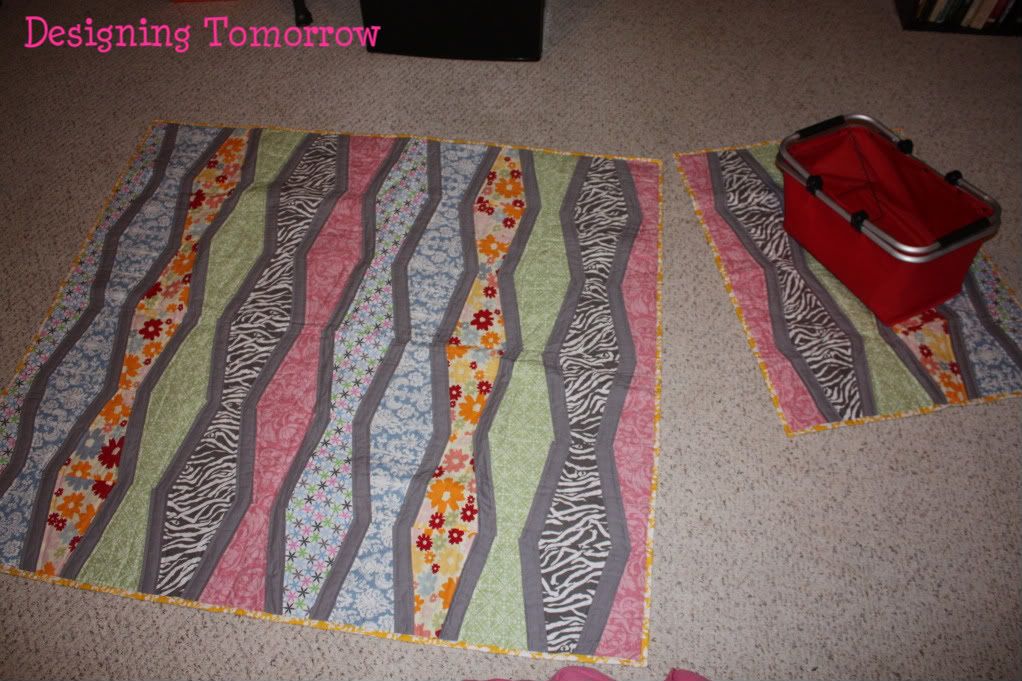
Here are pictures of the finished product:
You can also use the leftover pieces of fabric to make a smaller quilt to hold the picnic basket, food, etc. during your picnic! Just follow the same directions as the quilt!
I apologize that I do not have any pictures of the quilt "in action" on a picnic. Perhaps when it stops raining in Georgia... I will take a few and replace some of these with those!
I hope you enjoy this tutorial! I also REALLY appreciate the "New Wave Quilt" tutorial given by "Oh, Fransson!"!!
I hope you enjoy this tutorial! I also REALLY appreciate the "New Wave Quilt" tutorial given by "Oh, Fransson!"!!
Little Additions to my Family
I'm sure that if you're an animal lover like me... that your animals are just as much a part of your family as anyone else. That's how my animals are. In order for you to get to know me better, I want to take some time to show off my sweet angels, and tell you a few things about them!
At one point, we had five animals total. However, the three that I am going to list below are no longer with us. :'(
Losing Grayson and Gracie within a few weeks of each other was one of the hardest times I have been through so far in my life. I've had to have faith when I didn't want to, and try to see the bright side of things when all I saw was darkness. I will forever love them, and know that wherever animals go after this life that they are happy and playing. :)
So perhaps you think I'm crazy for loving my animals this much... but that's okay! At least you learned something new about me today :)

Skip:
- Part Collie mix.
- We adopted him from the pound, and he has been the BEST dog!
- He is so sweet, yet very protective!
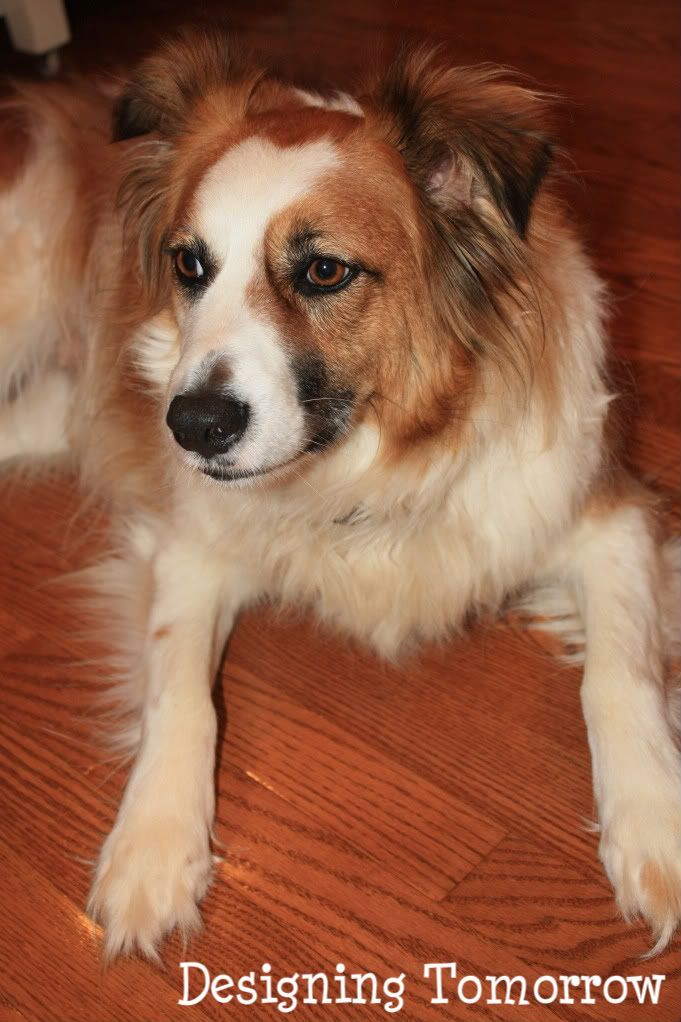
Such a handsome puppy :)
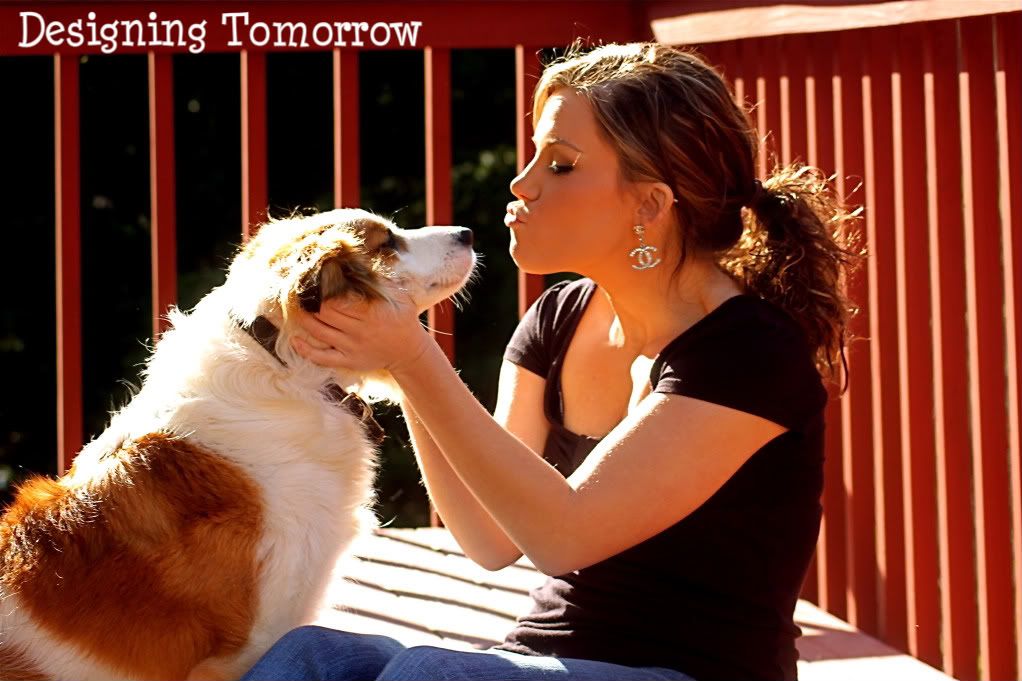
He's giving me some lovin!
Sammie:
- She was one of the originals.
- We adopted her from a family who's cat had kittens.
- She HAS to be the SWEETEST cat on the planet.
- She purrs ALL the time... NO MATTER WHAT!
- There is only ONE creature that can make her growl... and that's Mitsy.
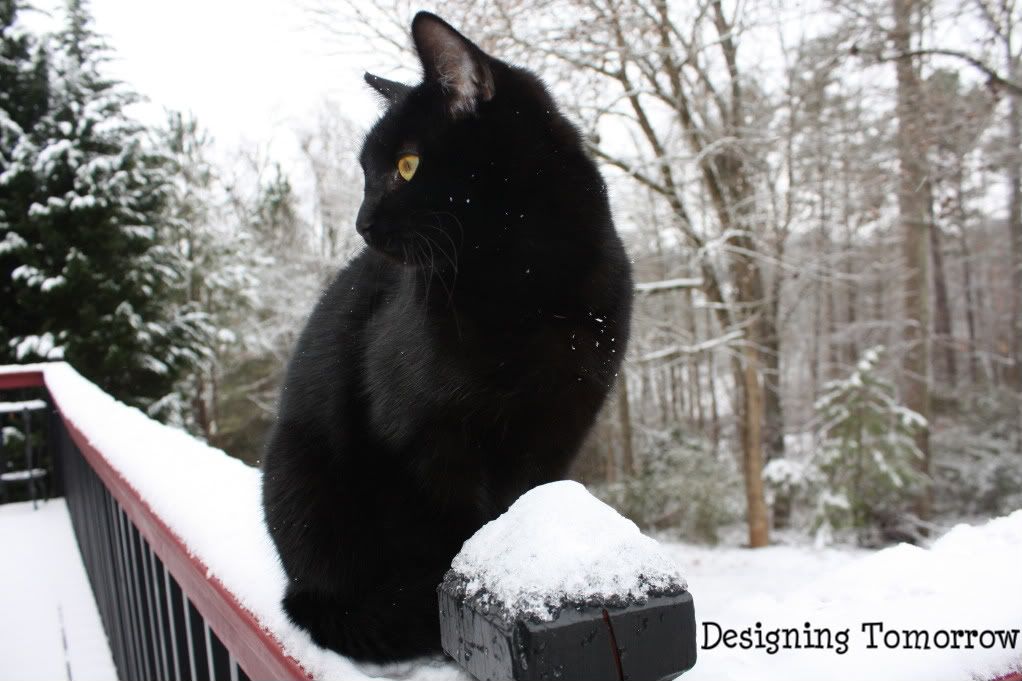
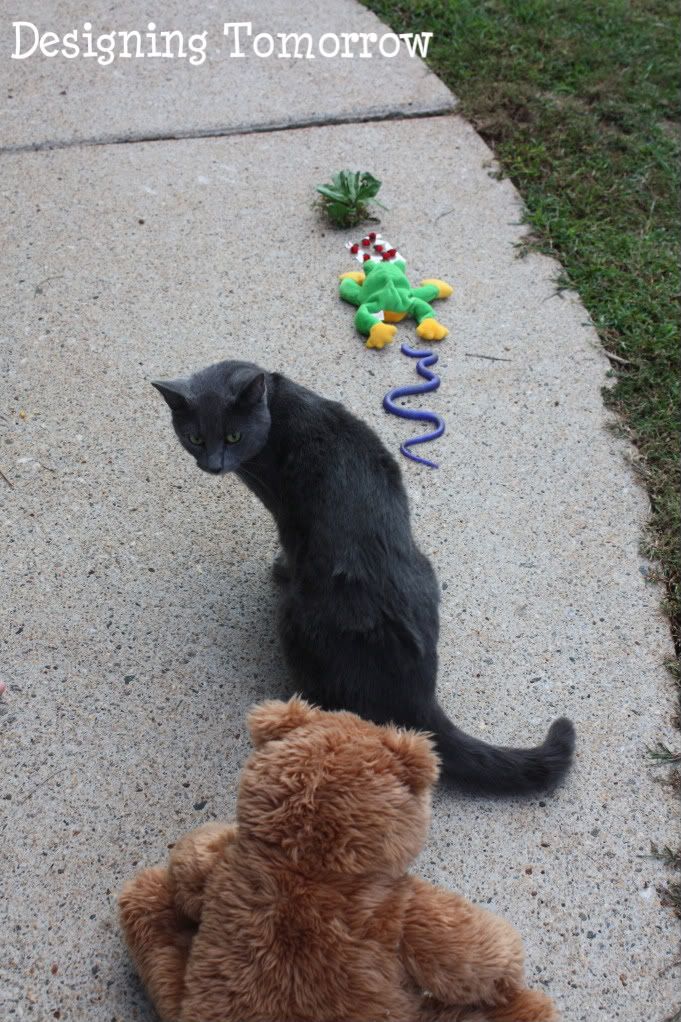
Being very beautiful out in the snow!
There are not as many pictures of Sammie because she is not so photogenic... as you can see!
Mitsy:
- We adopted her from a family who thought she was just a little too wild for them.
- They were not wrong!
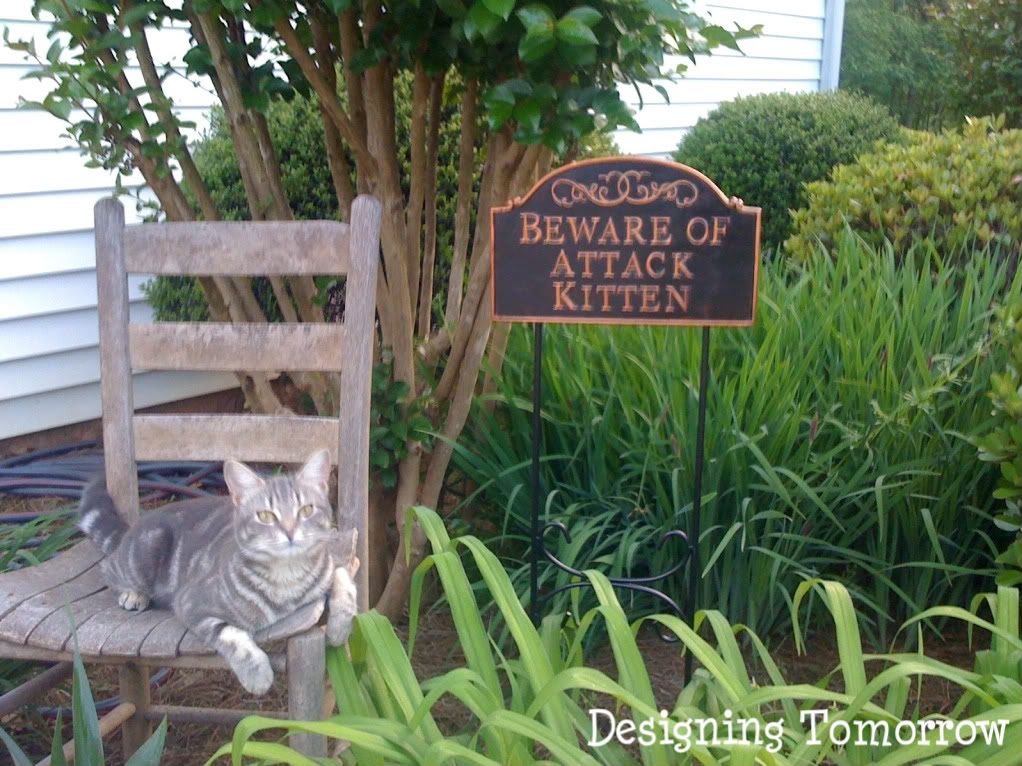
- She is one of the meanest cats I have ever met.
- But, we love her as if she isn't a meanie.
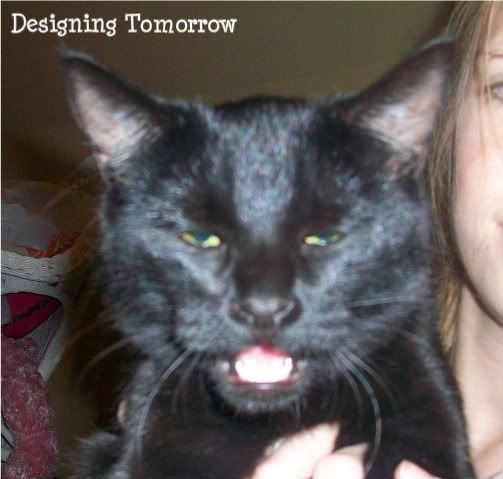
You can just see her meanness in this picture!
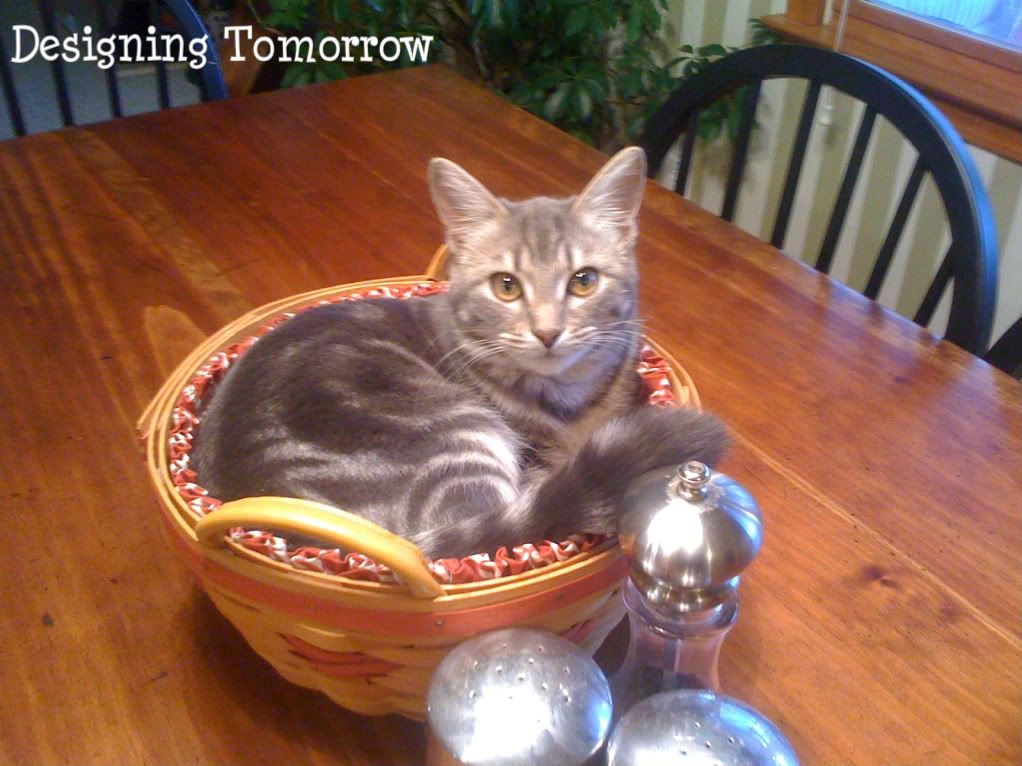
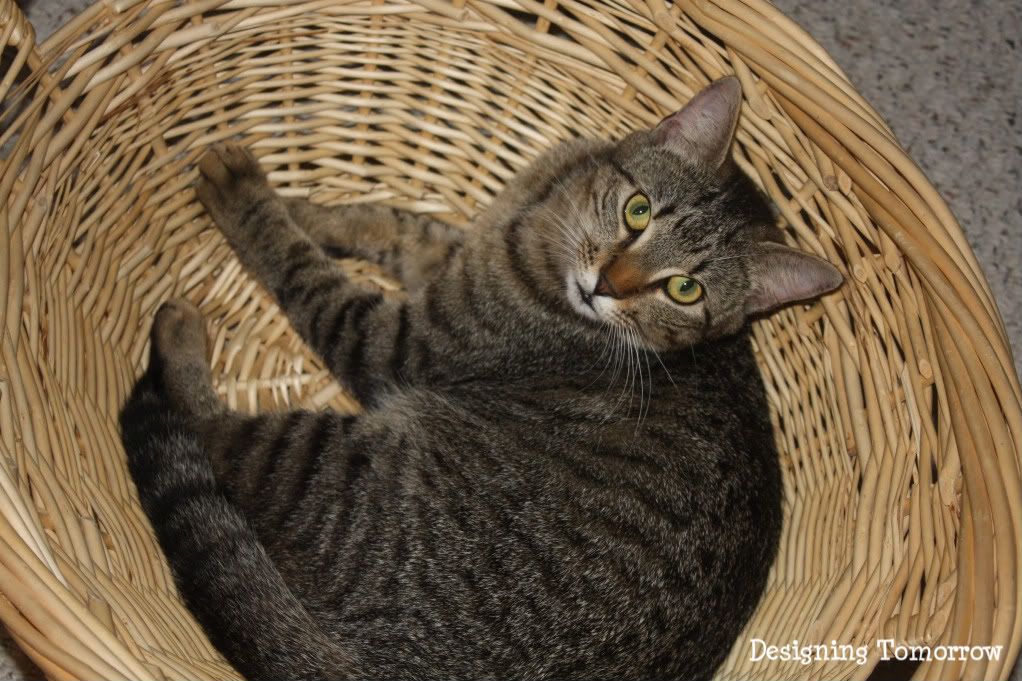
She started getting in this basket when she was a baby... and now she's almost grown out of it!
The sign says it all.
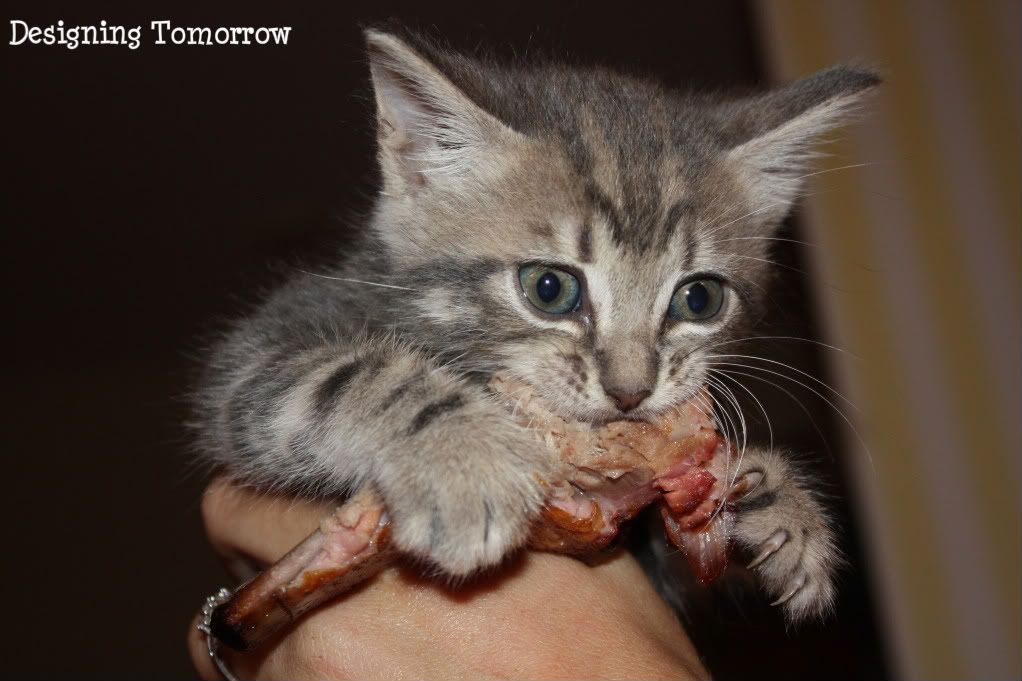
Her first taste of human food.
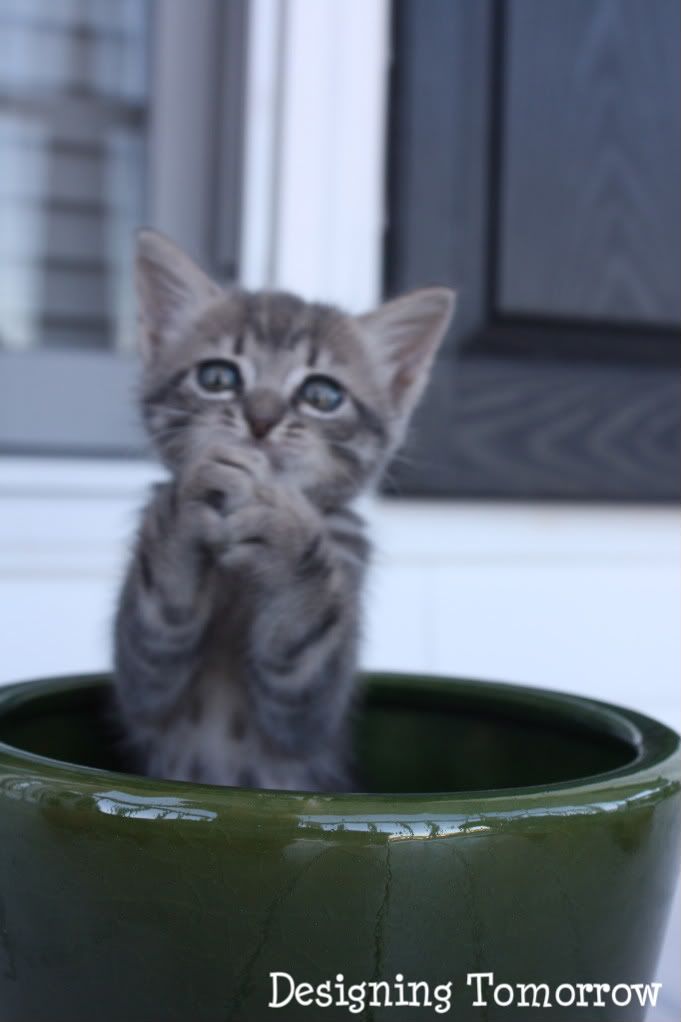
"Please please please!"
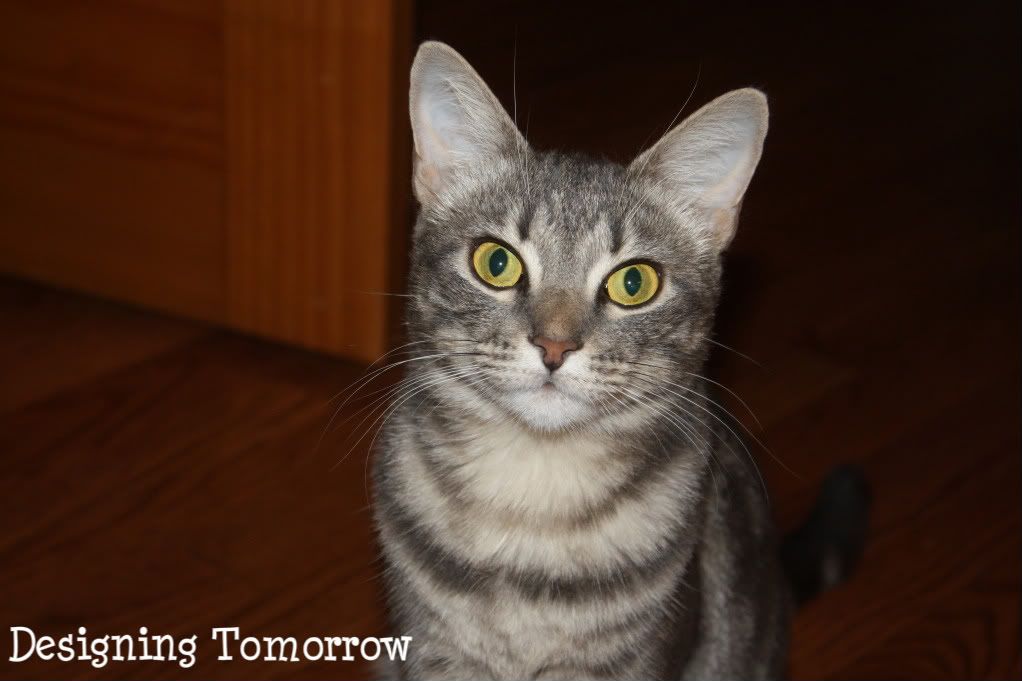
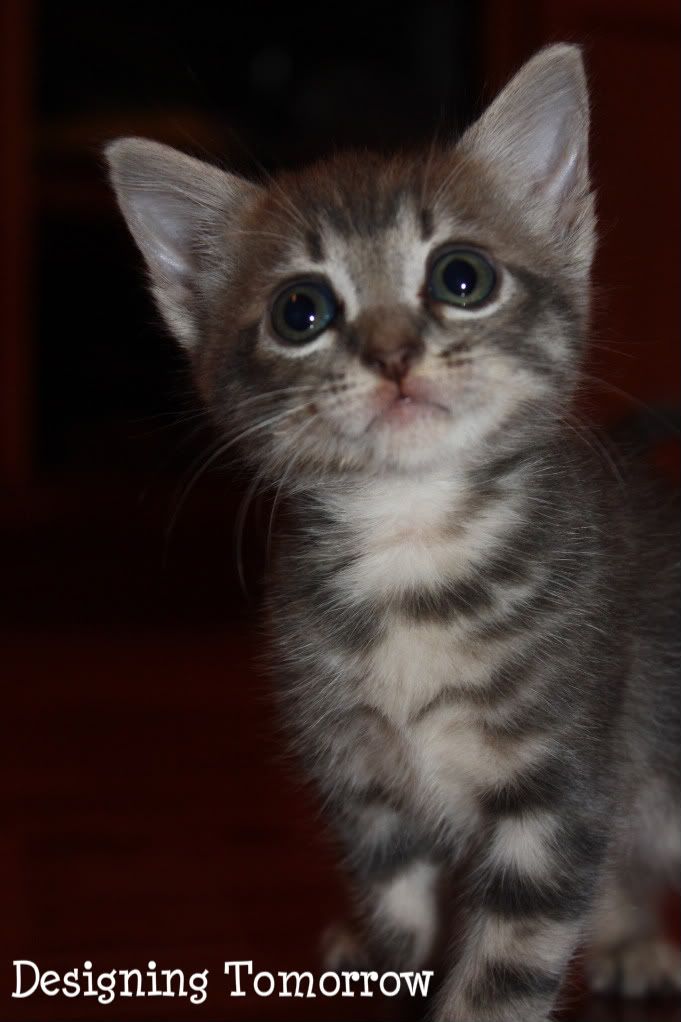
Don't let this sweet look fool you. She's evil.
At one point, we had five animals total. However, the three that I am going to list below are no longer with us. :'(
Button:
- She was my sister's cat.
- We adopted her when she was too young to be taken away from her mother, but her mother had disappeared.
- We bottle fed her and raised her like a human being.
- She was a lot like Mitsy in that she would be mean until she got her own way.
- She LOVED my sister.
- As a family, we went on vacation to Tybee Island and when we came back... she was gone :(
- She was a beautiful cat, and we like to think that someone stole her from us.
This is HER basket. Don't mess with her.
:) Sweet girl
Grayson:
- We rescued Grayson from a very bad situation.
- His mother had just given birth to 5 kittens, and the owners of the property were going to get rid (not in a nice way) of ALL of them.
- We took them in and found them homes.
- Grayson was actually taken in by Kevin.
- He rescued two kitties from the litter (Precious and Grayson).
- When he moved out of his apartment and back to his parent's house, they couldn't take both of the cats.
- So my family took in Grayson.
- He was a secret lover.
- He would scream and hiss at everyone and everything... until you would be alone with him. Then he was the biggest SNUGGLER!
- One day, Grayson was playing outside and decided to cross the street. Well, you probably know how the rest of this story goes. We were devastated.
Grayson participated in my brother's fifth grade "Life Cycle" project. He did a pretty great job! :)
He was so handsome!
Gracie:
- She was MY kitty.
- She was Grayson's sister that I rescued from the litter.
- She and I bonded, and I loved her more than I've ever loved an animal.
- She was the runt of the litter, and slept more than all the others.
- About a week after we lost Grayson, we noticed that Gracie was not moving around as much as normal.
- For about a week, she progressively got sicker and sicker.
- We took her to the vet in hopes that it was just something minor.
- It turned out that she had severe kidney failure.
- The Vet told us that Gracie had been suffering from bad kidneys all of her life and that there was nothing that we could do at that point. We had to put her down.
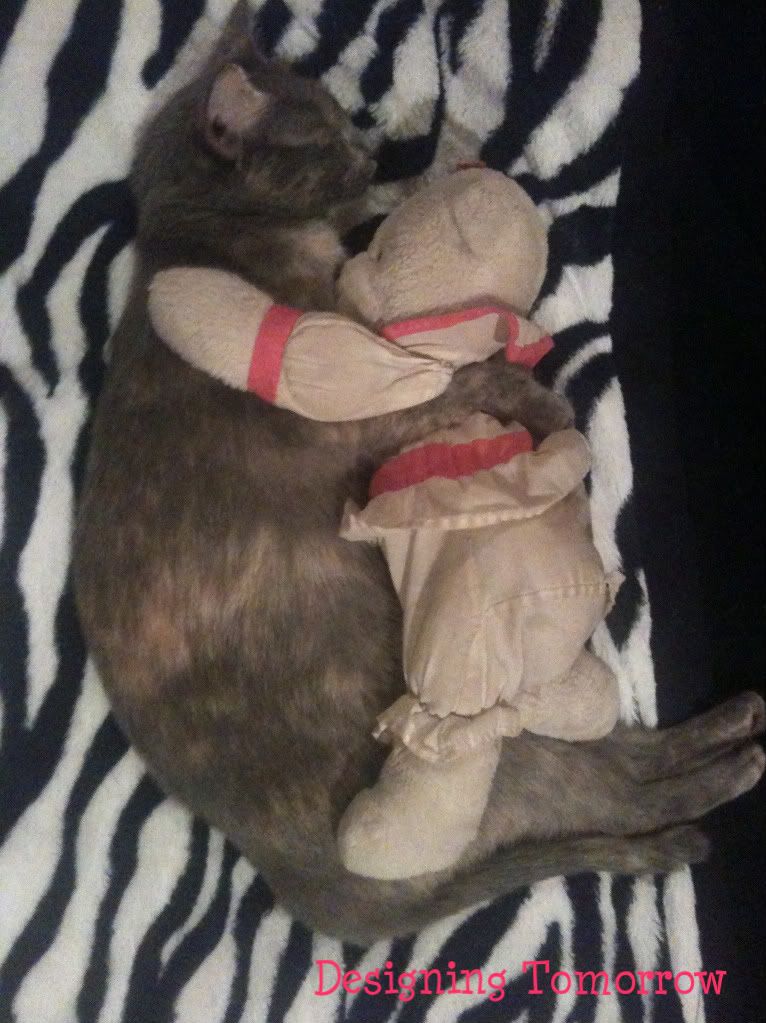
This is my lucy bear that I've grown up with. Gracie loved her too :)
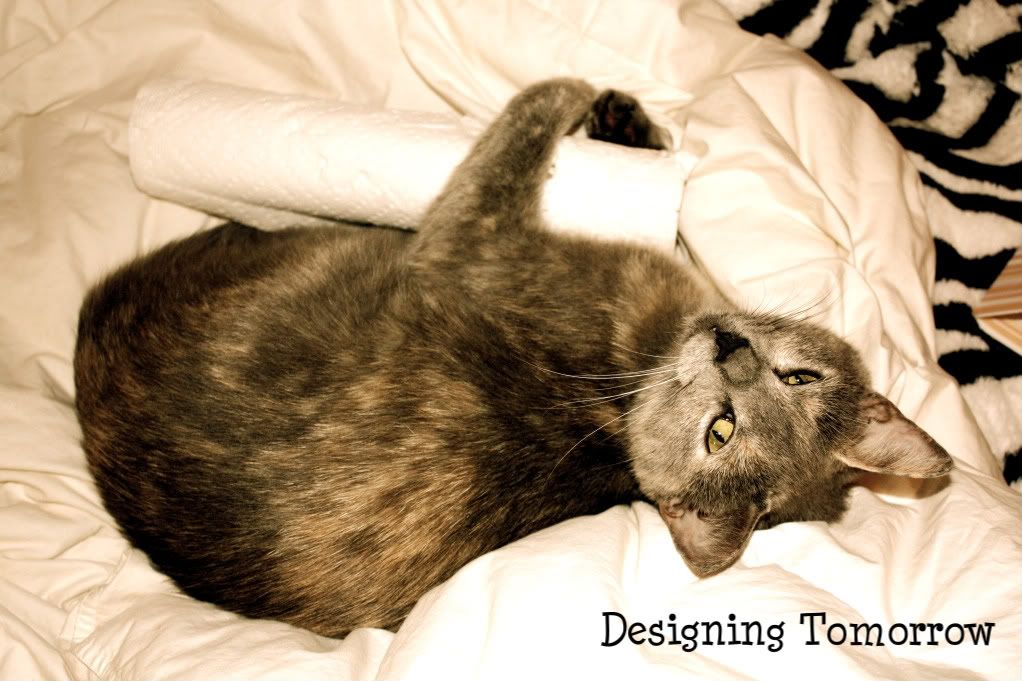
Okay... so she liked holding things while resting...
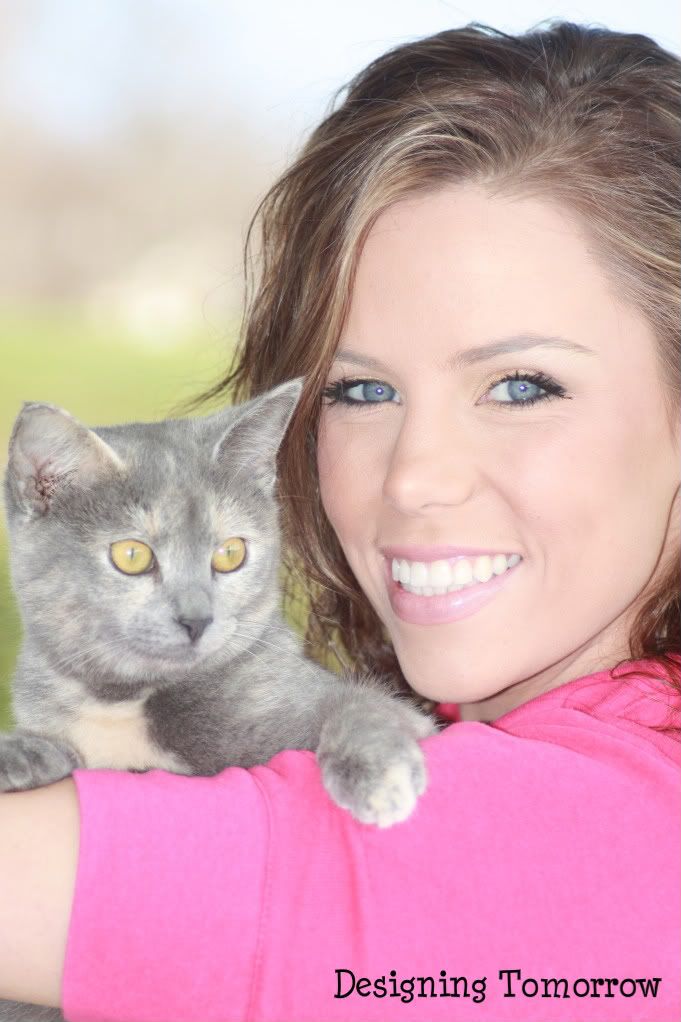
My baby girl.
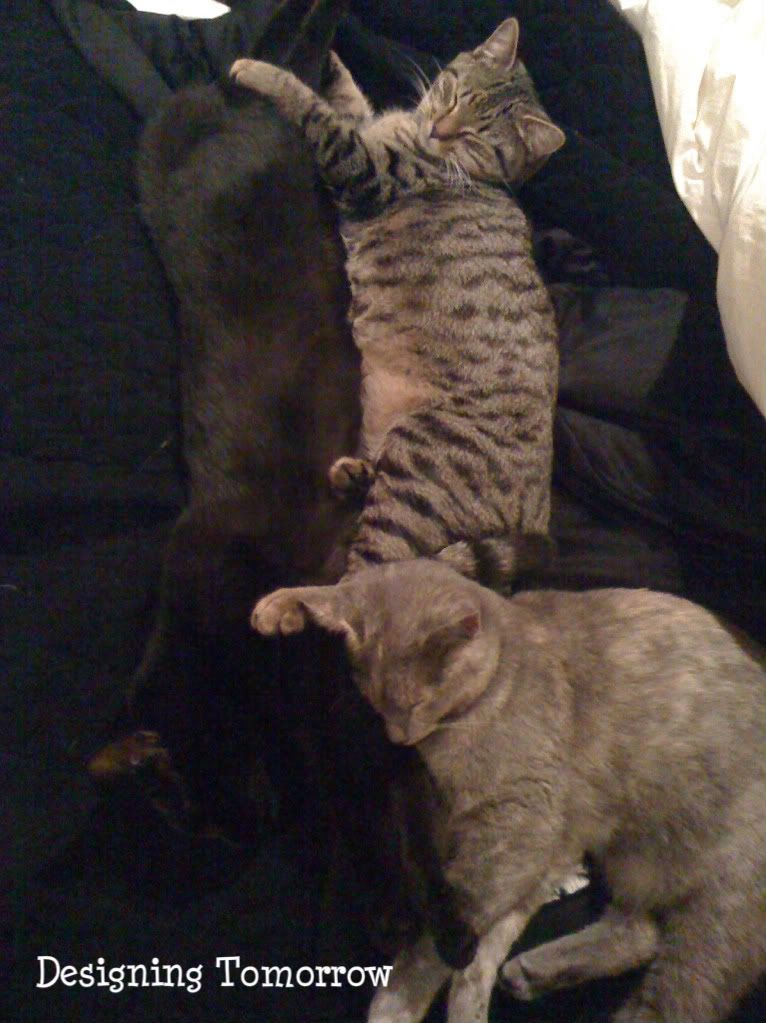
Such a sweetheart!
Losing Grayson and Gracie within a few weeks of each other was one of the hardest times I have been through so far in my life. I've had to have faith when I didn't want to, and try to see the bright side of things when all I saw was darkness. I will forever love them, and know that wherever animals go after this life that they are happy and playing. :)
So perhaps you think I'm crazy for loving my animals this much... but that's okay! At least you learned something new about me today :)

Delicious Oreo Ball Recipe
Tuesday, September 20, 2011
Last Christmas at my grandmother's house, I discovered the most delicious little truffles. They looked like a little ball of white chocolate... but on the INSIDE was complete Oreo Bliss! Ever since, I have been searching for a recipe that is super easy AND delicious that come close to my grandmother's recipe for Oreo delicious-ness.
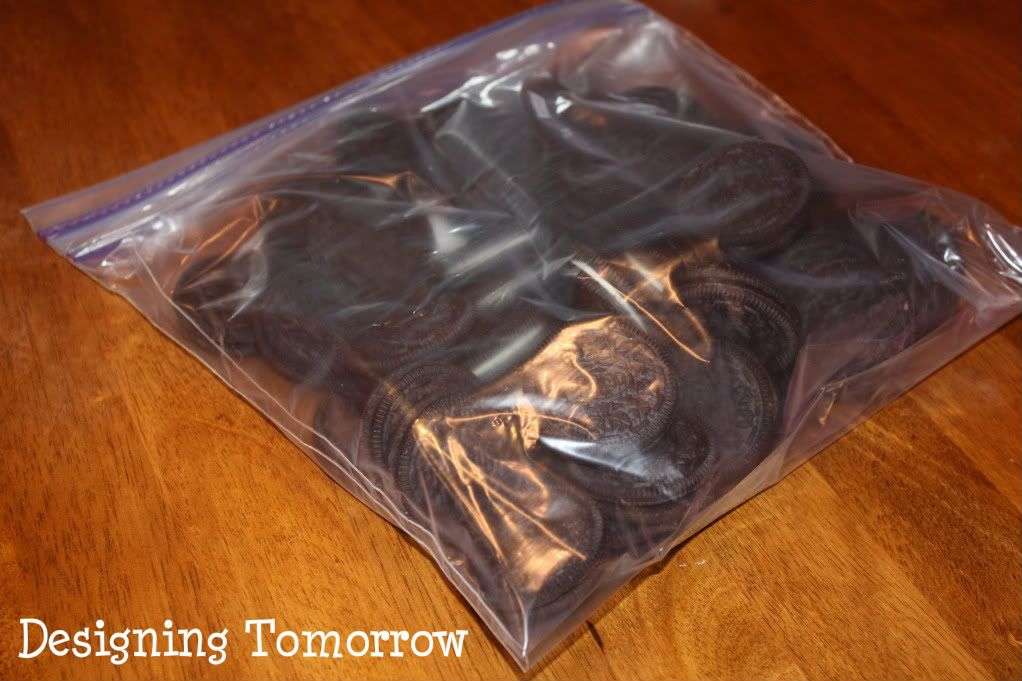
Step One: Put the ENTIRE package of Oreos into one of the storage sized bags. Then use your second storage sized bag to double bag the Oreos.
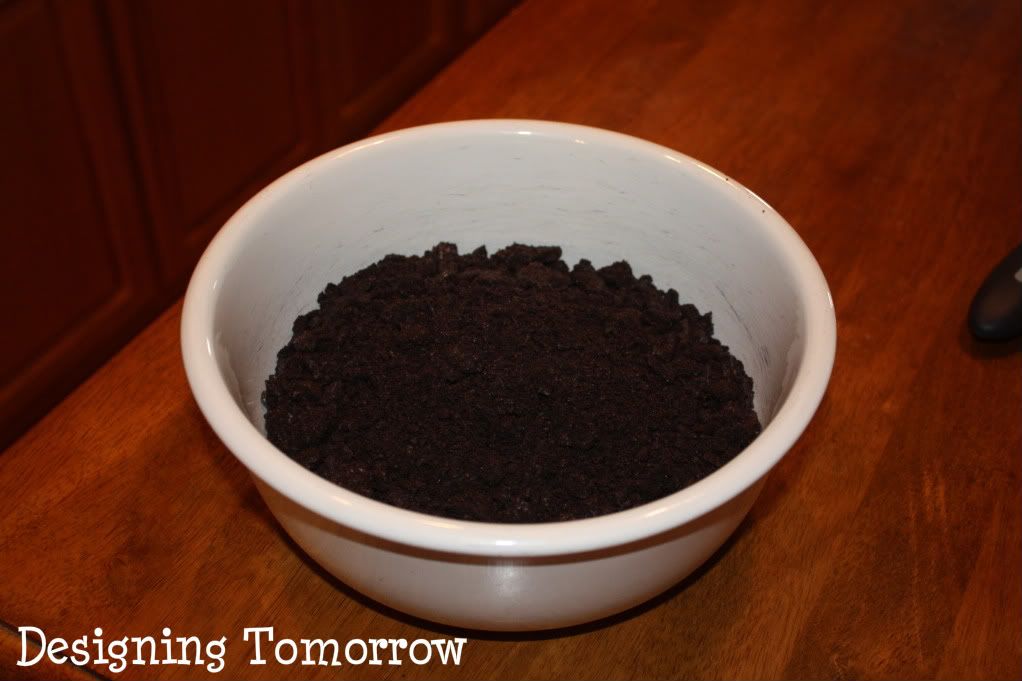
Step Three: Put your crushed up Oreos in your large bowl.
Step Four: Place the cream cheese in your small bowl and use the microwave to soften it just a tad. (The cream cheese package has instructions on how to do this)
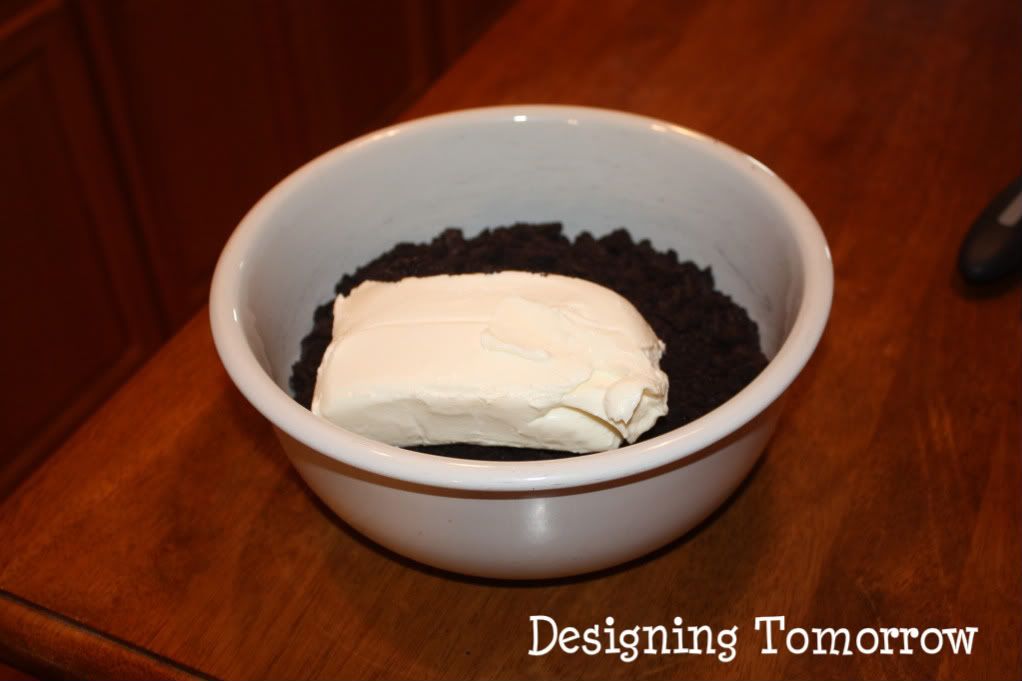
Step Five: Put your softened cream cheese in the same bowl as your crushed up Oreo cookies.
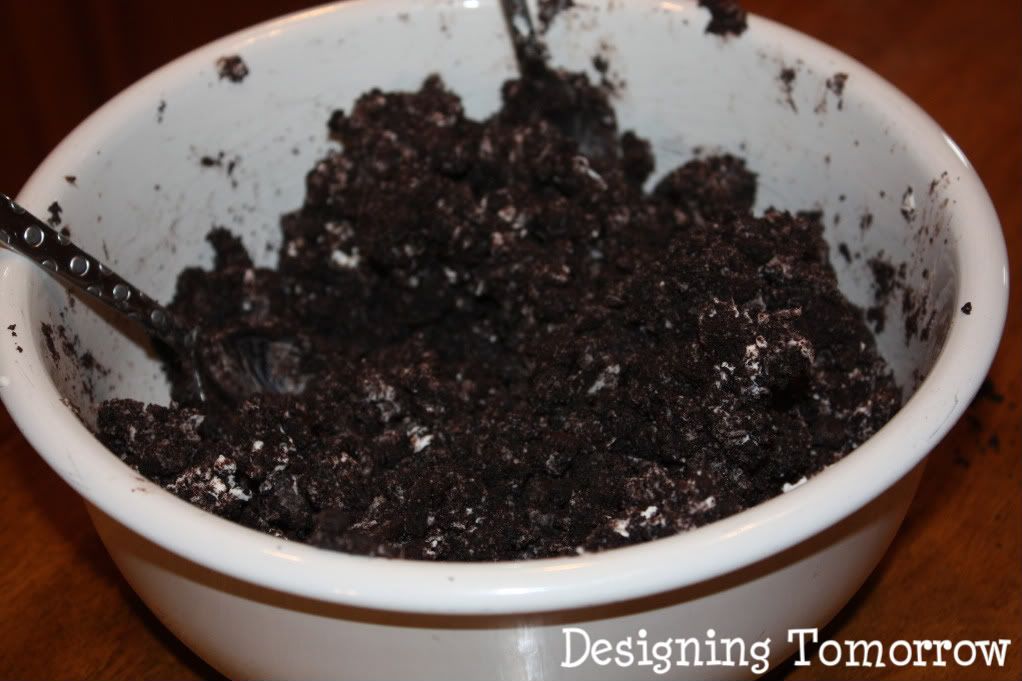
Step Six: Many recipes will tell you to just dig your hands in to the ingredients and mix them all up. But I like to use spoons to really smash all the cream cheese into the Oreo crumbles. This helps it get really mixed up AND avoids the mess of cookie crumbles flying all over the kitchen.
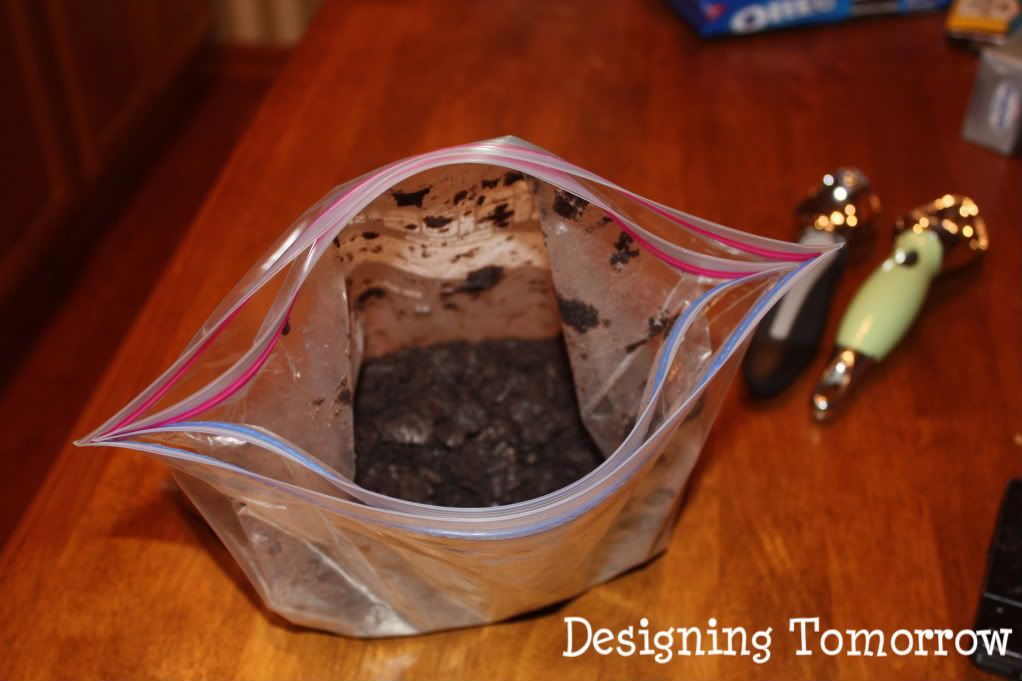
Once the Oreos look like the picture above, then continue on to Step Seven.
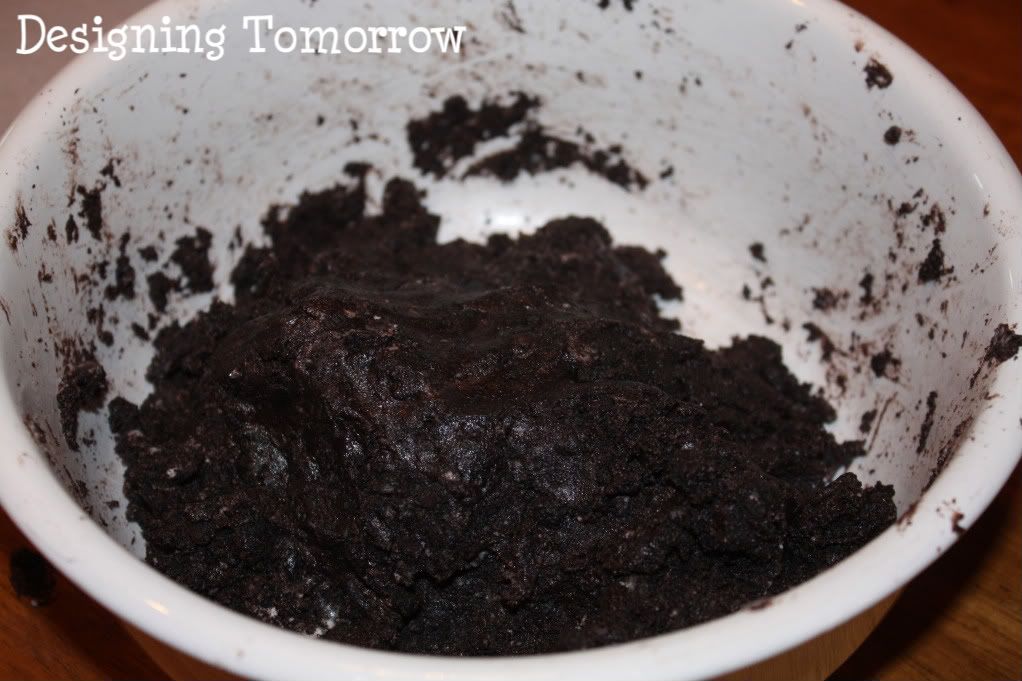
Step Seven: Take off your rings, and get your hands dirty! Start mixing the Oreos up until it has the consistency of the picture above.
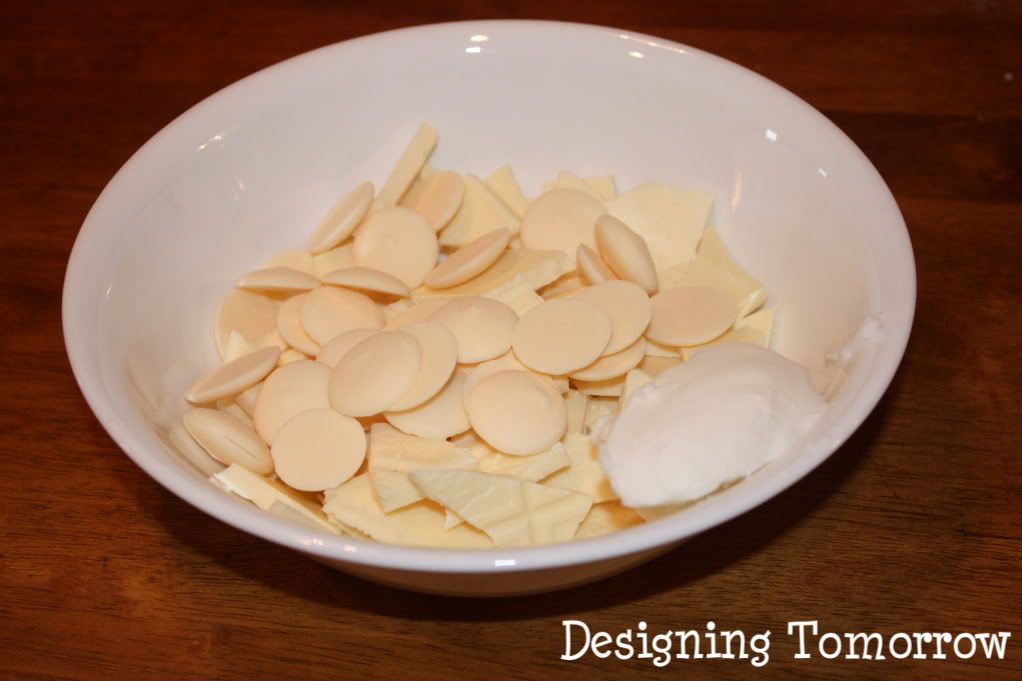
Step Nine: Crush up the white chocolate in the small bowl. Put about a tablespoon of Crisco into the white chocolate chunks. This helps the chocolate become smooth and easy to cover the Oreo balls with.
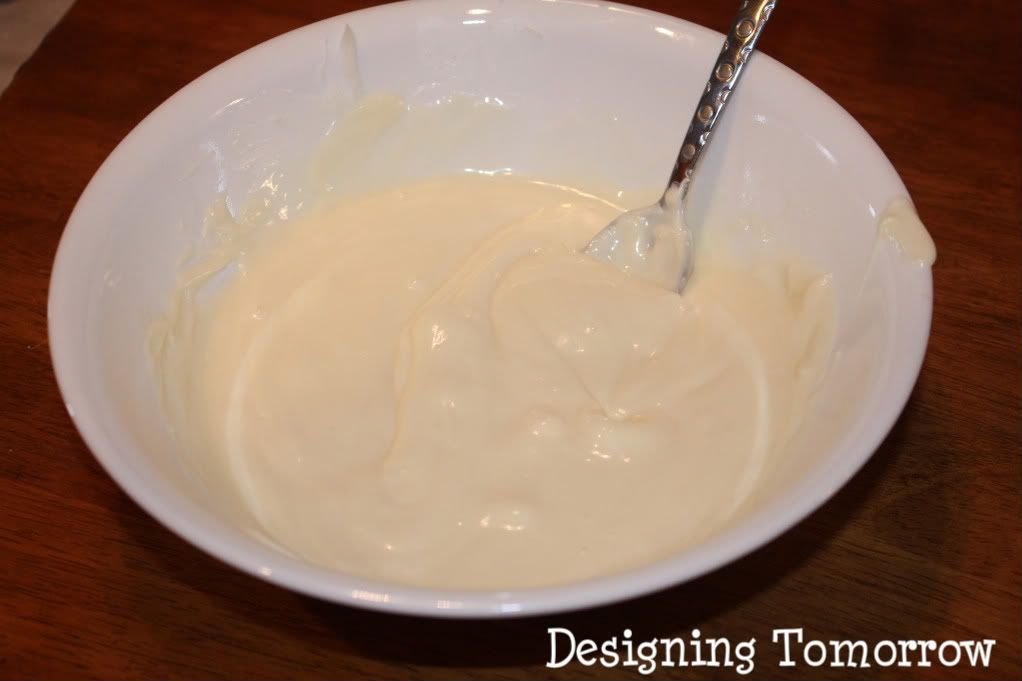
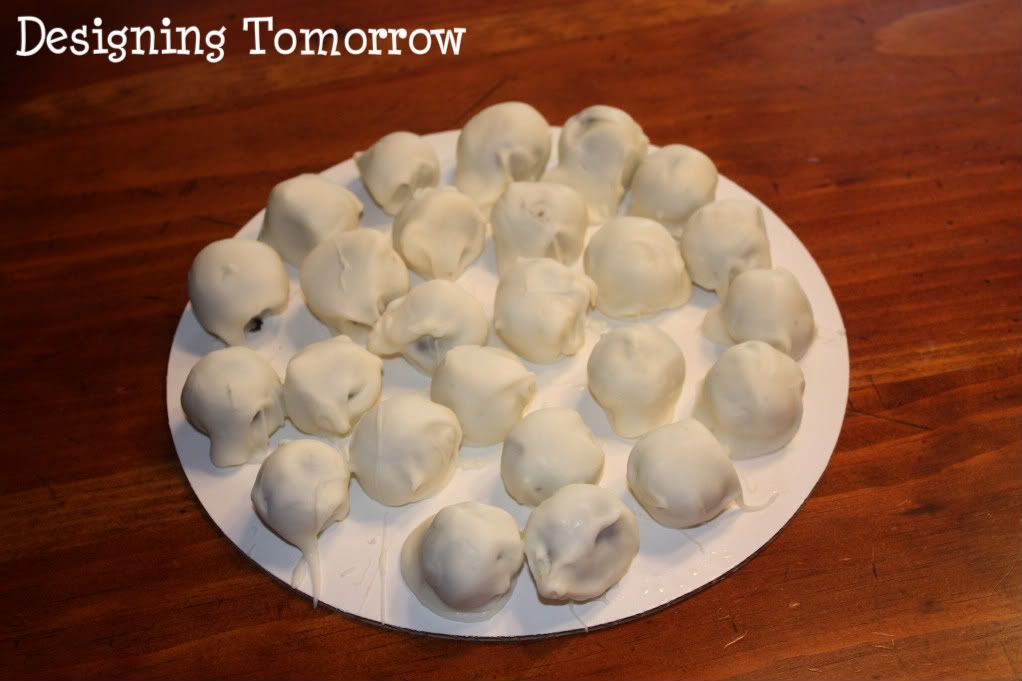
Step Ten: Melt the chocolate according to the instructions on the package. Once done, take each oreo ball and roll it around in the chocolate and place on a plate. Once all the balls are covered in chocolate, place them in the fridge.
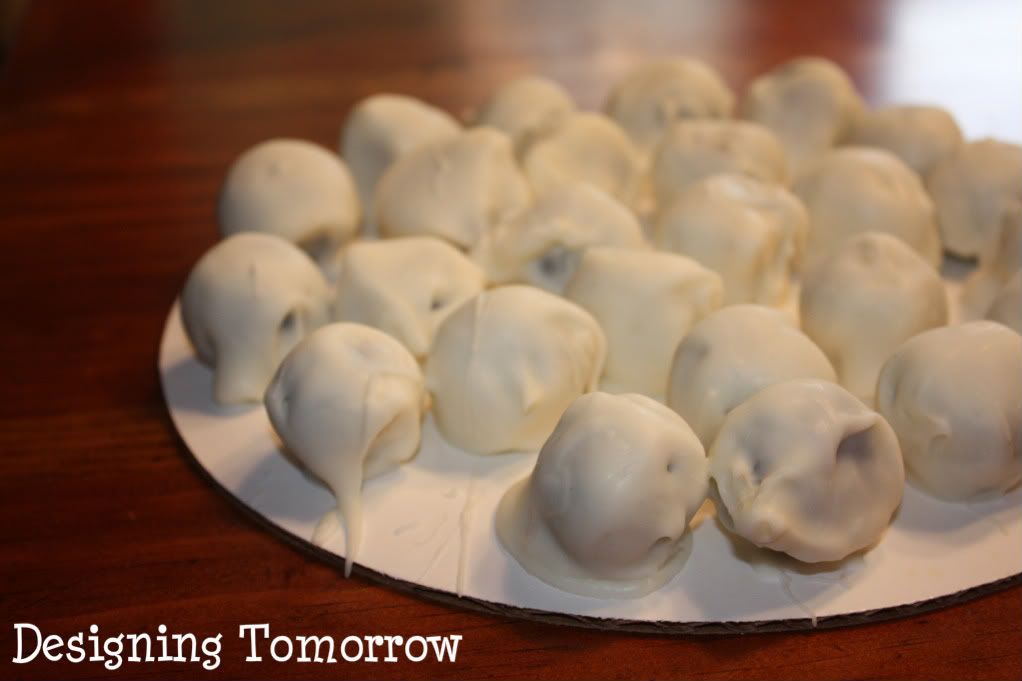
After about 30 minutes, you will have cool... delicious Oreo balls for everyone to enjoy!
Each batch makes about 50 Oreo balls! Enjoy!!

I came across this recipe on Pinterest (probably the BEST website ever invented), and tried it. The recipe ended up being super easy and extremely addicting! So I've decided as my first official "crafting" post on Designing Tomorrow, that I would give my version of the recipe, complete with pictures.
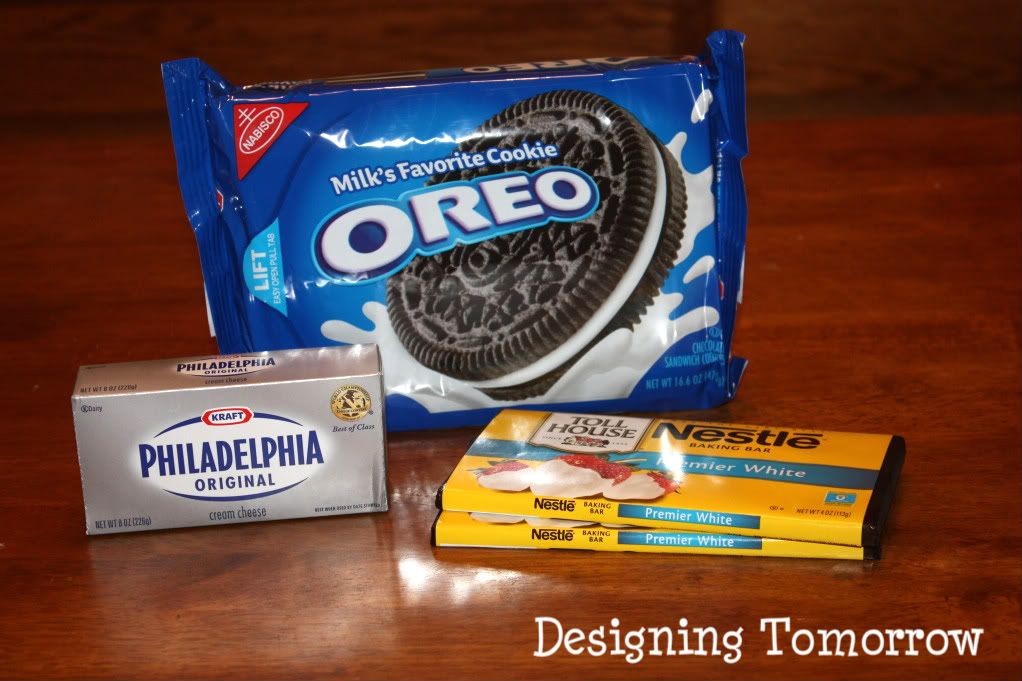
Main Ingredients:
- One package of Oreos
- One box of Philadelphia Cream Cheese
- Two to three packages of Nestle Premier White Baking Bar
Additional Ingredients and Materials:
- Two storage sized plastic bags
- Large Bowl
- Small Bowl
- Two Spoons
- Parchment Paper
- Plates
- Refrigerator
Step One: Put the ENTIRE package of Oreos into one of the storage sized bags. Then use your second storage sized bag to double bag the Oreos.
Step Two: After you've double bagged your Oreos... crush them... hammer them... beat them... WHATEVER you have to do to completely crush up all the Oreos.
Step Three: Put your crushed up Oreos in your large bowl.
Step Four: Place the cream cheese in your small bowl and use the microwave to soften it just a tad. (The cream cheese package has instructions on how to do this)
Step Five: Put your softened cream cheese in the same bowl as your crushed up Oreo cookies.
Step Six: Many recipes will tell you to just dig your hands in to the ingredients and mix them all up. But I like to use spoons to really smash all the cream cheese into the Oreo crumbles. This helps it get really mixed up AND avoids the mess of cookie crumbles flying all over the kitchen.
Once the Oreos look like the picture above, then continue on to Step Seven.
Step Seven: Take off your rings, and get your hands dirty! Start mixing the Oreos up until it has the consistency of the picture above.
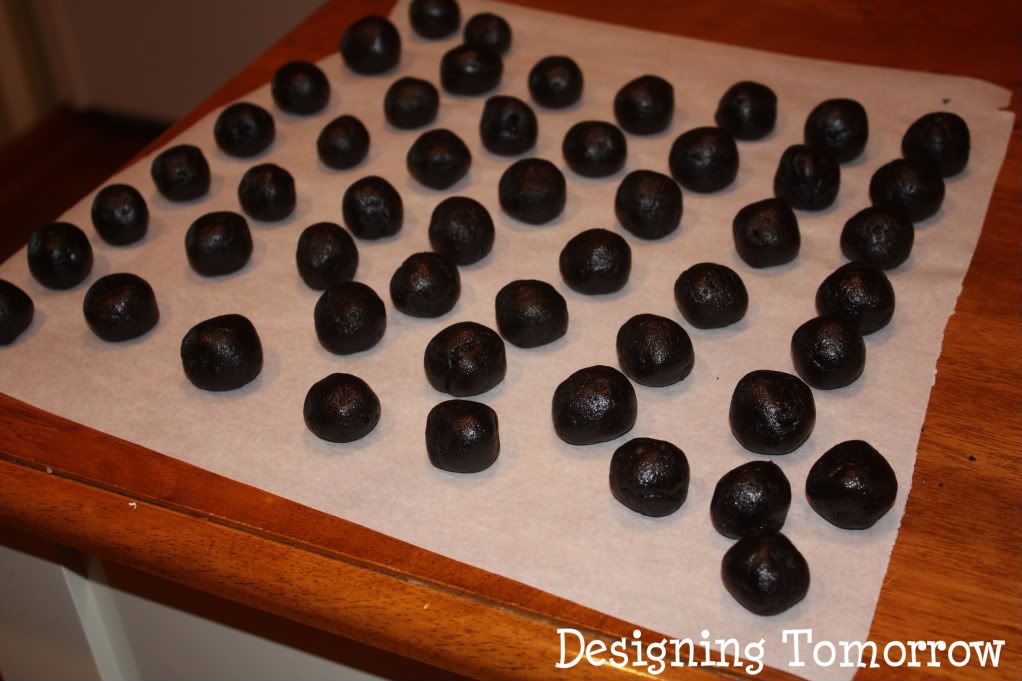
Step Eight: tear off small pieces of the large Oreo mass and create small balls
Step Nine: Crush up the white chocolate in the small bowl. Put about a tablespoon of Crisco into the white chocolate chunks. This helps the chocolate become smooth and easy to cover the Oreo balls with.
Step Ten: Melt the chocolate according to the instructions on the package. Once done, take each oreo ball and roll it around in the chocolate and place on a plate. Once all the balls are covered in chocolate, place them in the fridge.
After about 30 minutes, you will have cool... delicious Oreo balls for everyone to enjoy!
Each batch makes about 50 Oreo balls! Enjoy!!

Subscribe to:
Posts (Atom)

